

Tags Feature
Overview
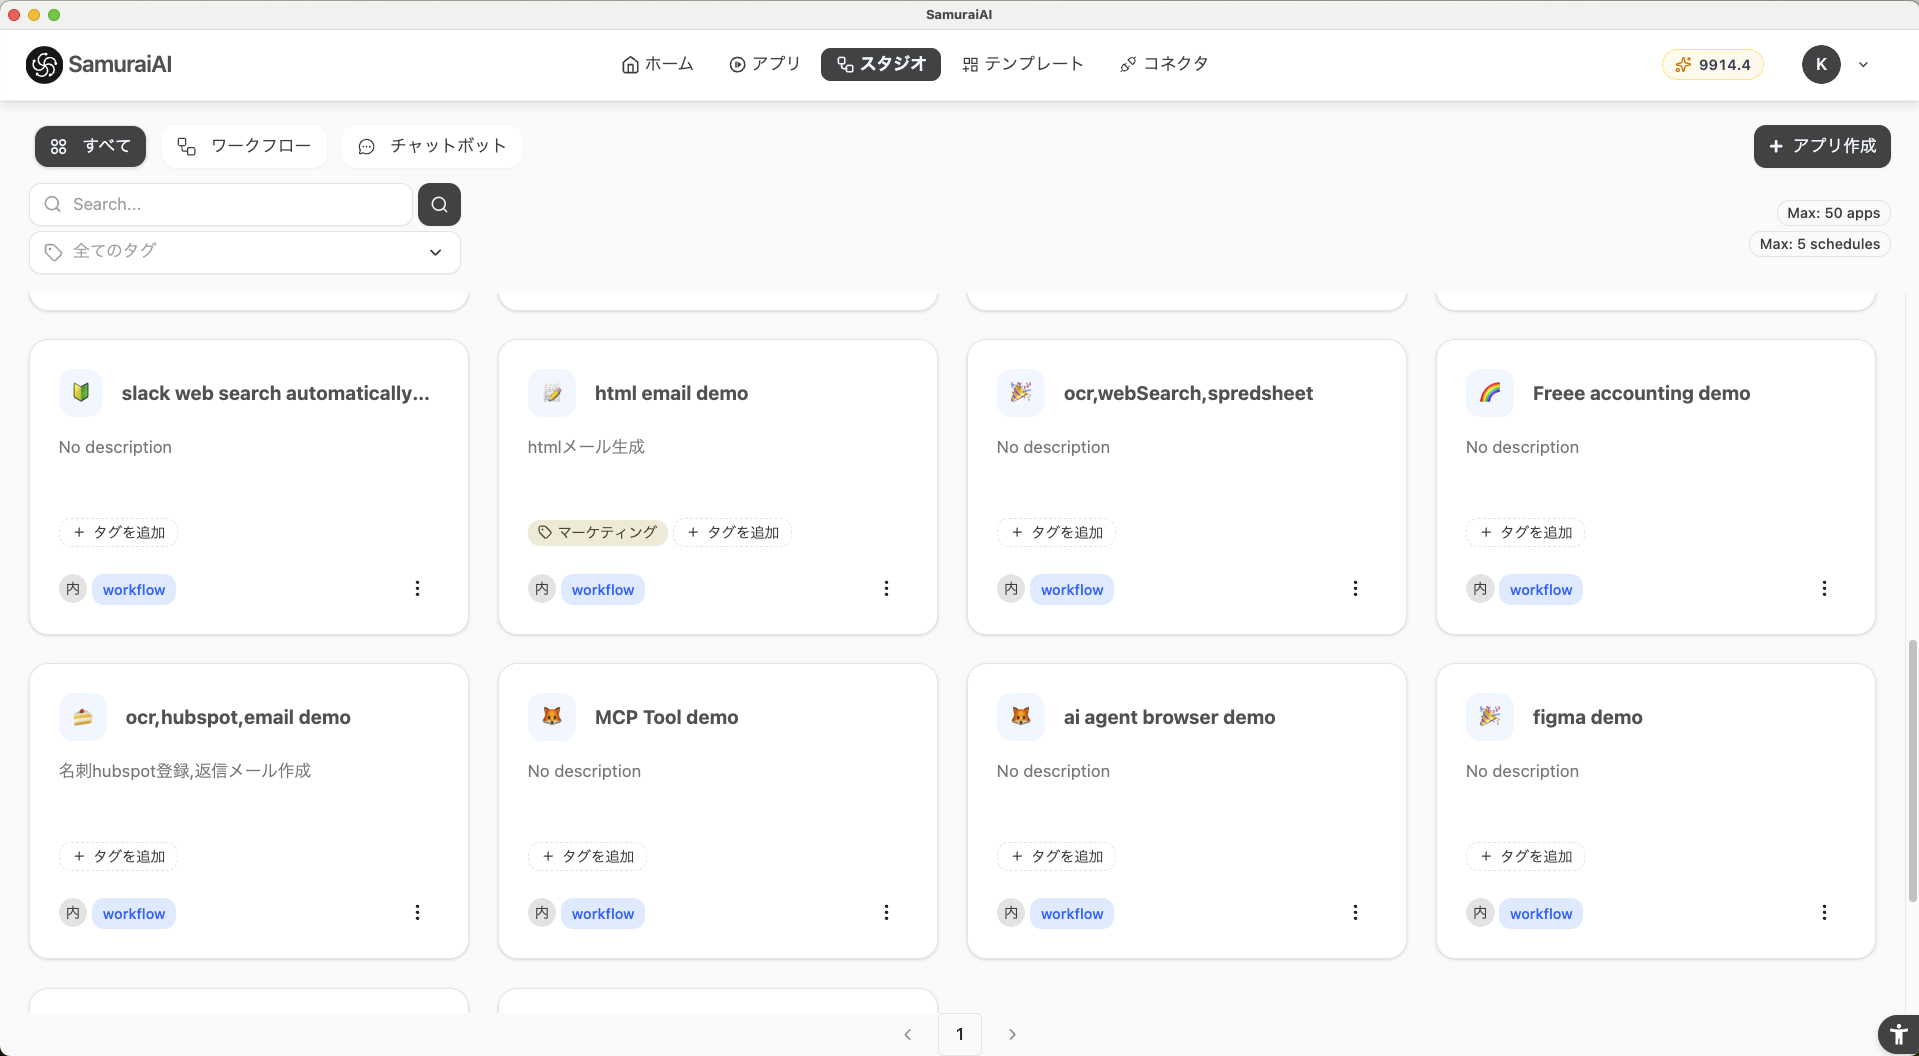
Section titled “Overview”The workflow tags feature is a system that improves searchability and organization in the list view by attaching arbitrary tags to created workflows. Even as the number of workflows increases, you can classify them by purpose, department, project, and more, making it easy to quickly find the automation you need.
Features
Section titled “Features”- Multiple tags: You can attach multiple tags to a single workflow
- Reuse existing tags: Once created, tags appear as suggestions and are easy to reuse
- Filtered search: Simply specify a tag to narrow down the list to matching workflows
- Delete tags: When a tag is deleted, it is automatically removed from all workflows that have it
How to Add Tags
Section titled “How to Add Tags”-
Go to Studio > Click “Add tag” for each workflow
-
Tag input field
- Enter any text string.
- If existing tags exist, suggestions will be displayed.
- To create a new tag, after entering text, click “Create tag: XXX”
-
Save
- Once saved, the tag is linked to the workflow and can be used in lists and searches.
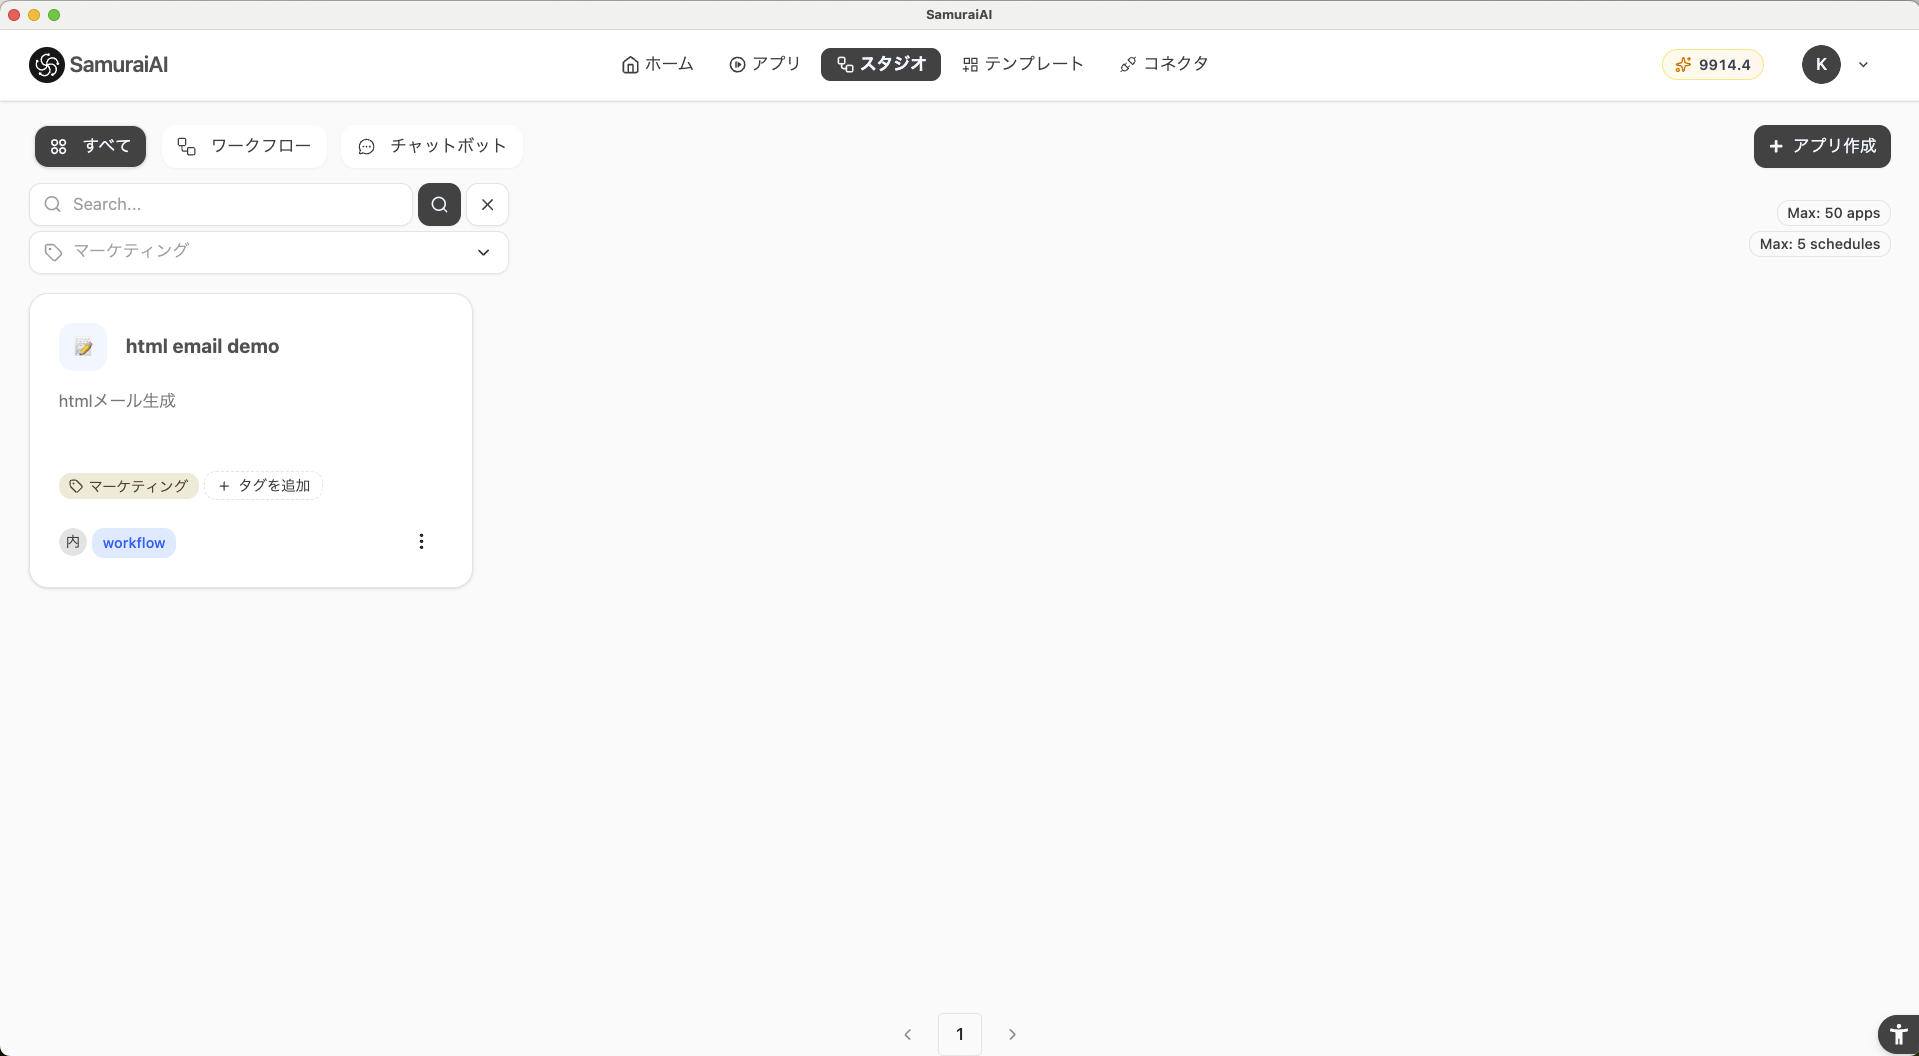
How to Search by Tags
Section titled “How to Search by Tags”- Open the Studio screen.
- Click “All tags”.
- Select the target tag.
- Only workflows with the selected tag will be displayed.
Use Cases
Section titled “Use Cases”| Use Case | Tag Examples |
|---|---|
| Department management | Sales, Marketing, Customer Support, Development |
| Purpose classification | Scheduled Reports, Data Retrieval, Auto Reply, Billing Process |
| Status management | Testing, Production, Under Revision, Scheduled for Deprecation |
Design Considerations
Section titled “Design Considerations”It is recommended to establish rules beforehand, as vague tag design can lead to chaotic classification later.
- Maintain consistent granularity (don’t mix department and purpose tags)
- Prevent variations in naming (e.g., don’t mix
SalesandSales Department)
Last updated: