

Groups
Groups let you bundle workspace members into meaningful units — for example, sales, engineering, or leadership teams. Once members are grouped, you can grant app access or cap AI credit usage by group instead of person by person.
Create a Group
Section titled “Create a Group”Open Groups from the settings sidebar. You can browse and search the existing groups from the list.
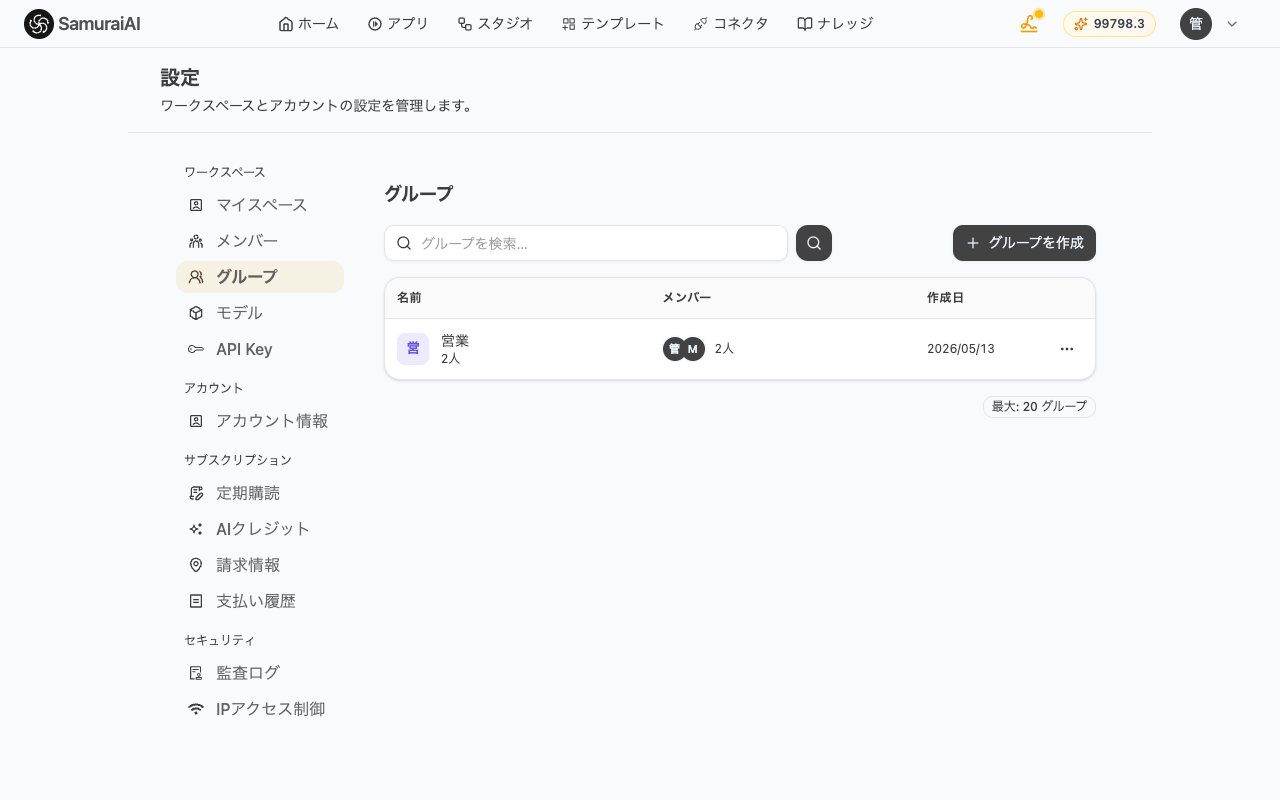
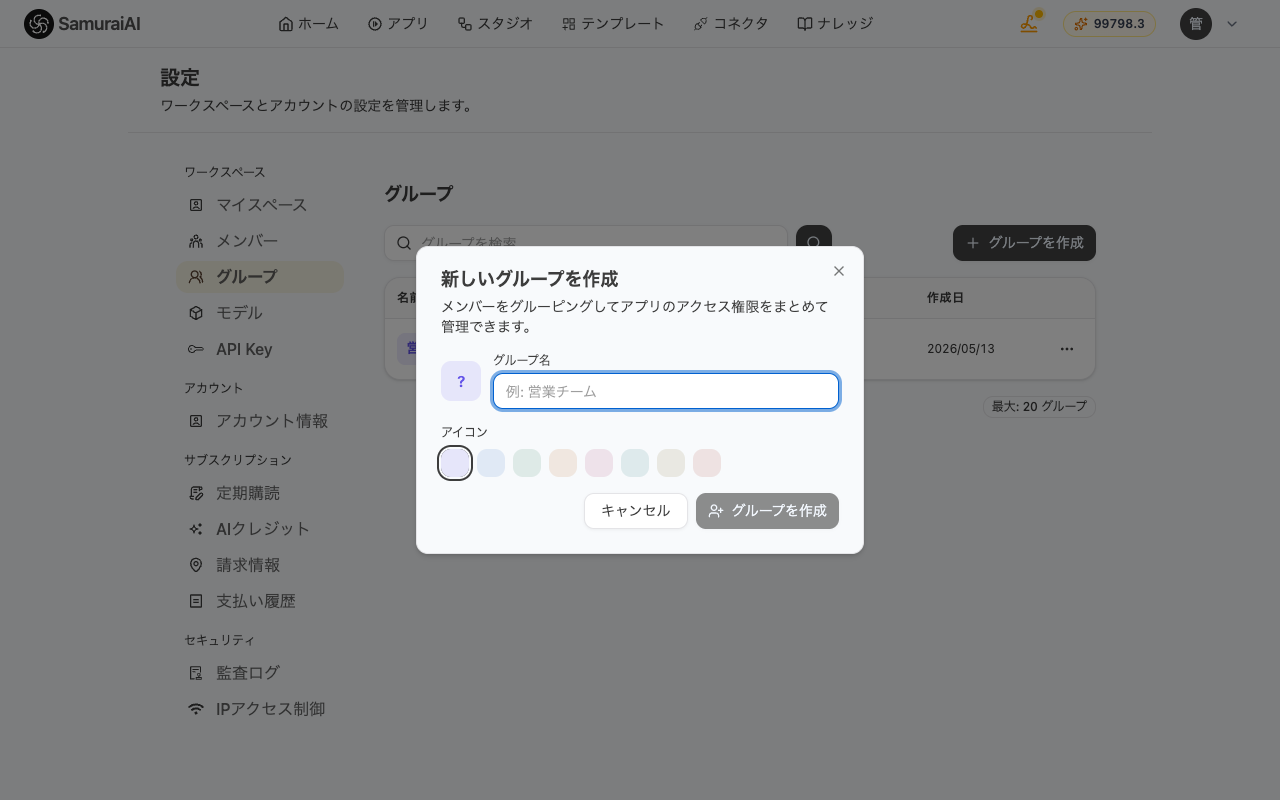
Click Create Group in the top right to open the creation dialog. Pick a name (for example, “Sales Team”) and an icon color, then click Create Group again to confirm.
Add Members
Section titled “Add Members”Click a group in the list to open the detail panel on the right. The Edit icon next to the group name lets you rename the group or change its color at any time.
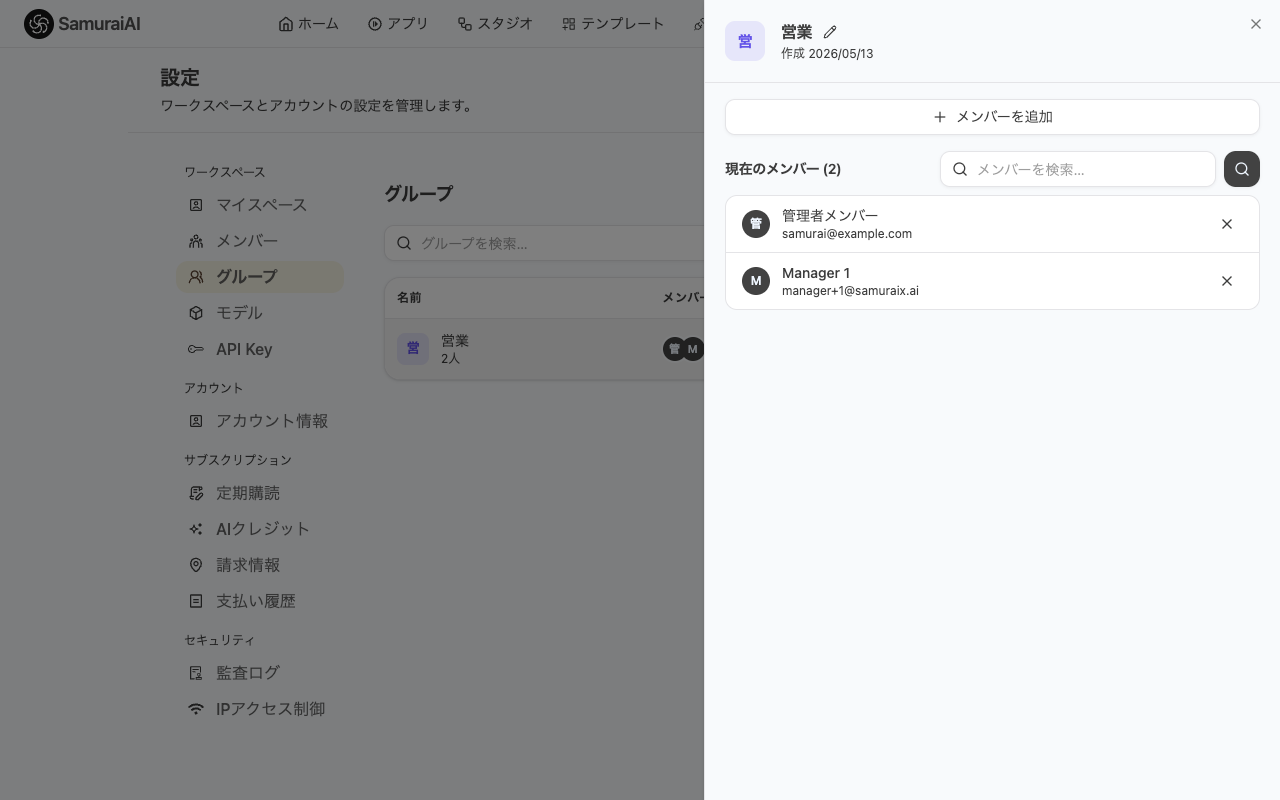
Click Add Member to see all members in the workspace. Press the Add button next to a person to put them in the group. You can also search by name or email to narrow the list.
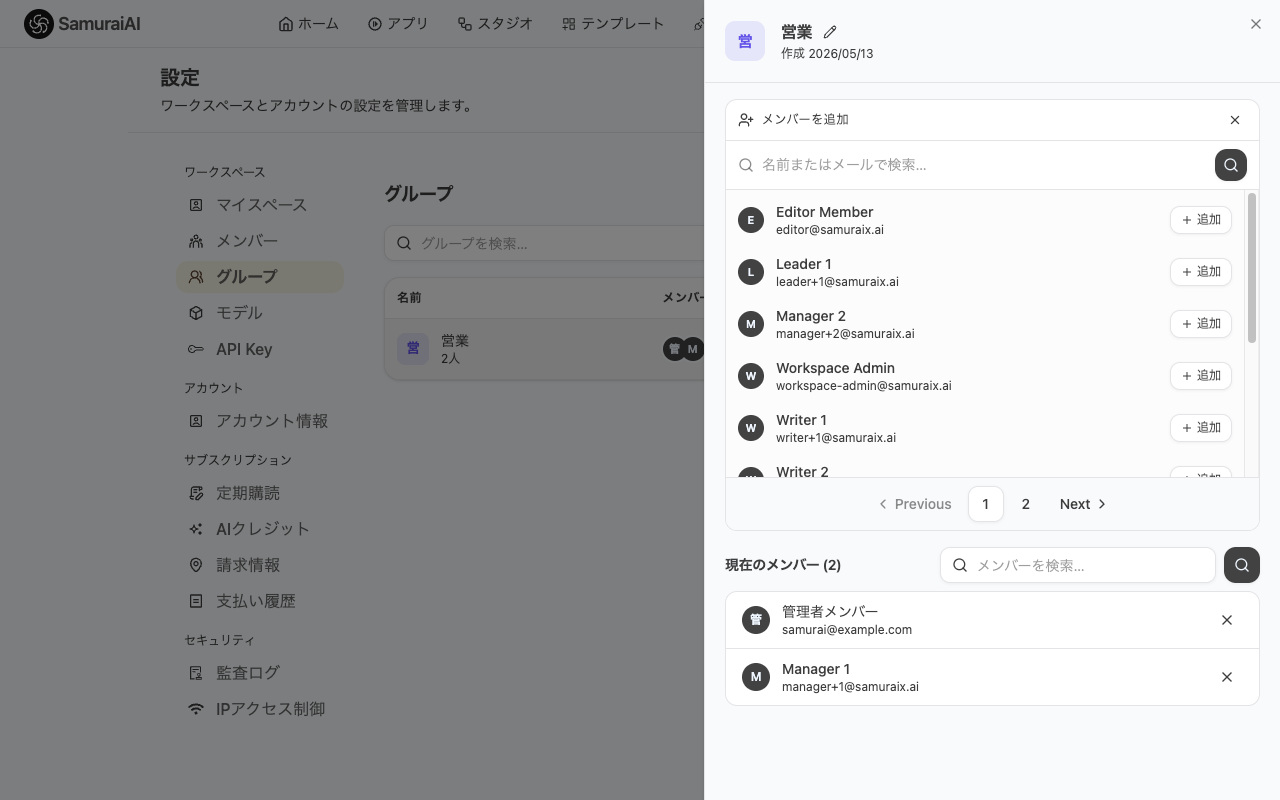
To remove someone, click the × at the right end of their row in the current members list.
Set an AI Credit Limit
Section titled “Set an AI Credit Limit”Use the AI Credit limit tab in the group’s detail panel to set a monthly AI credit cap per group. Groups without a cap are treated as unlimited (∞), and once the cap is reached every member of that group is blocked from using AI features.
Putting Groups to Work
Section titled “Putting Groups to Work”Once a group exists, you can pick it as a principal when setting app access permissions. When people move between teams or projects, you only need to update the group’s membership — every app that allows that group is updated automatically.
Last updated: